
Haifoss Waterfall Hike: Everything You Need to Know
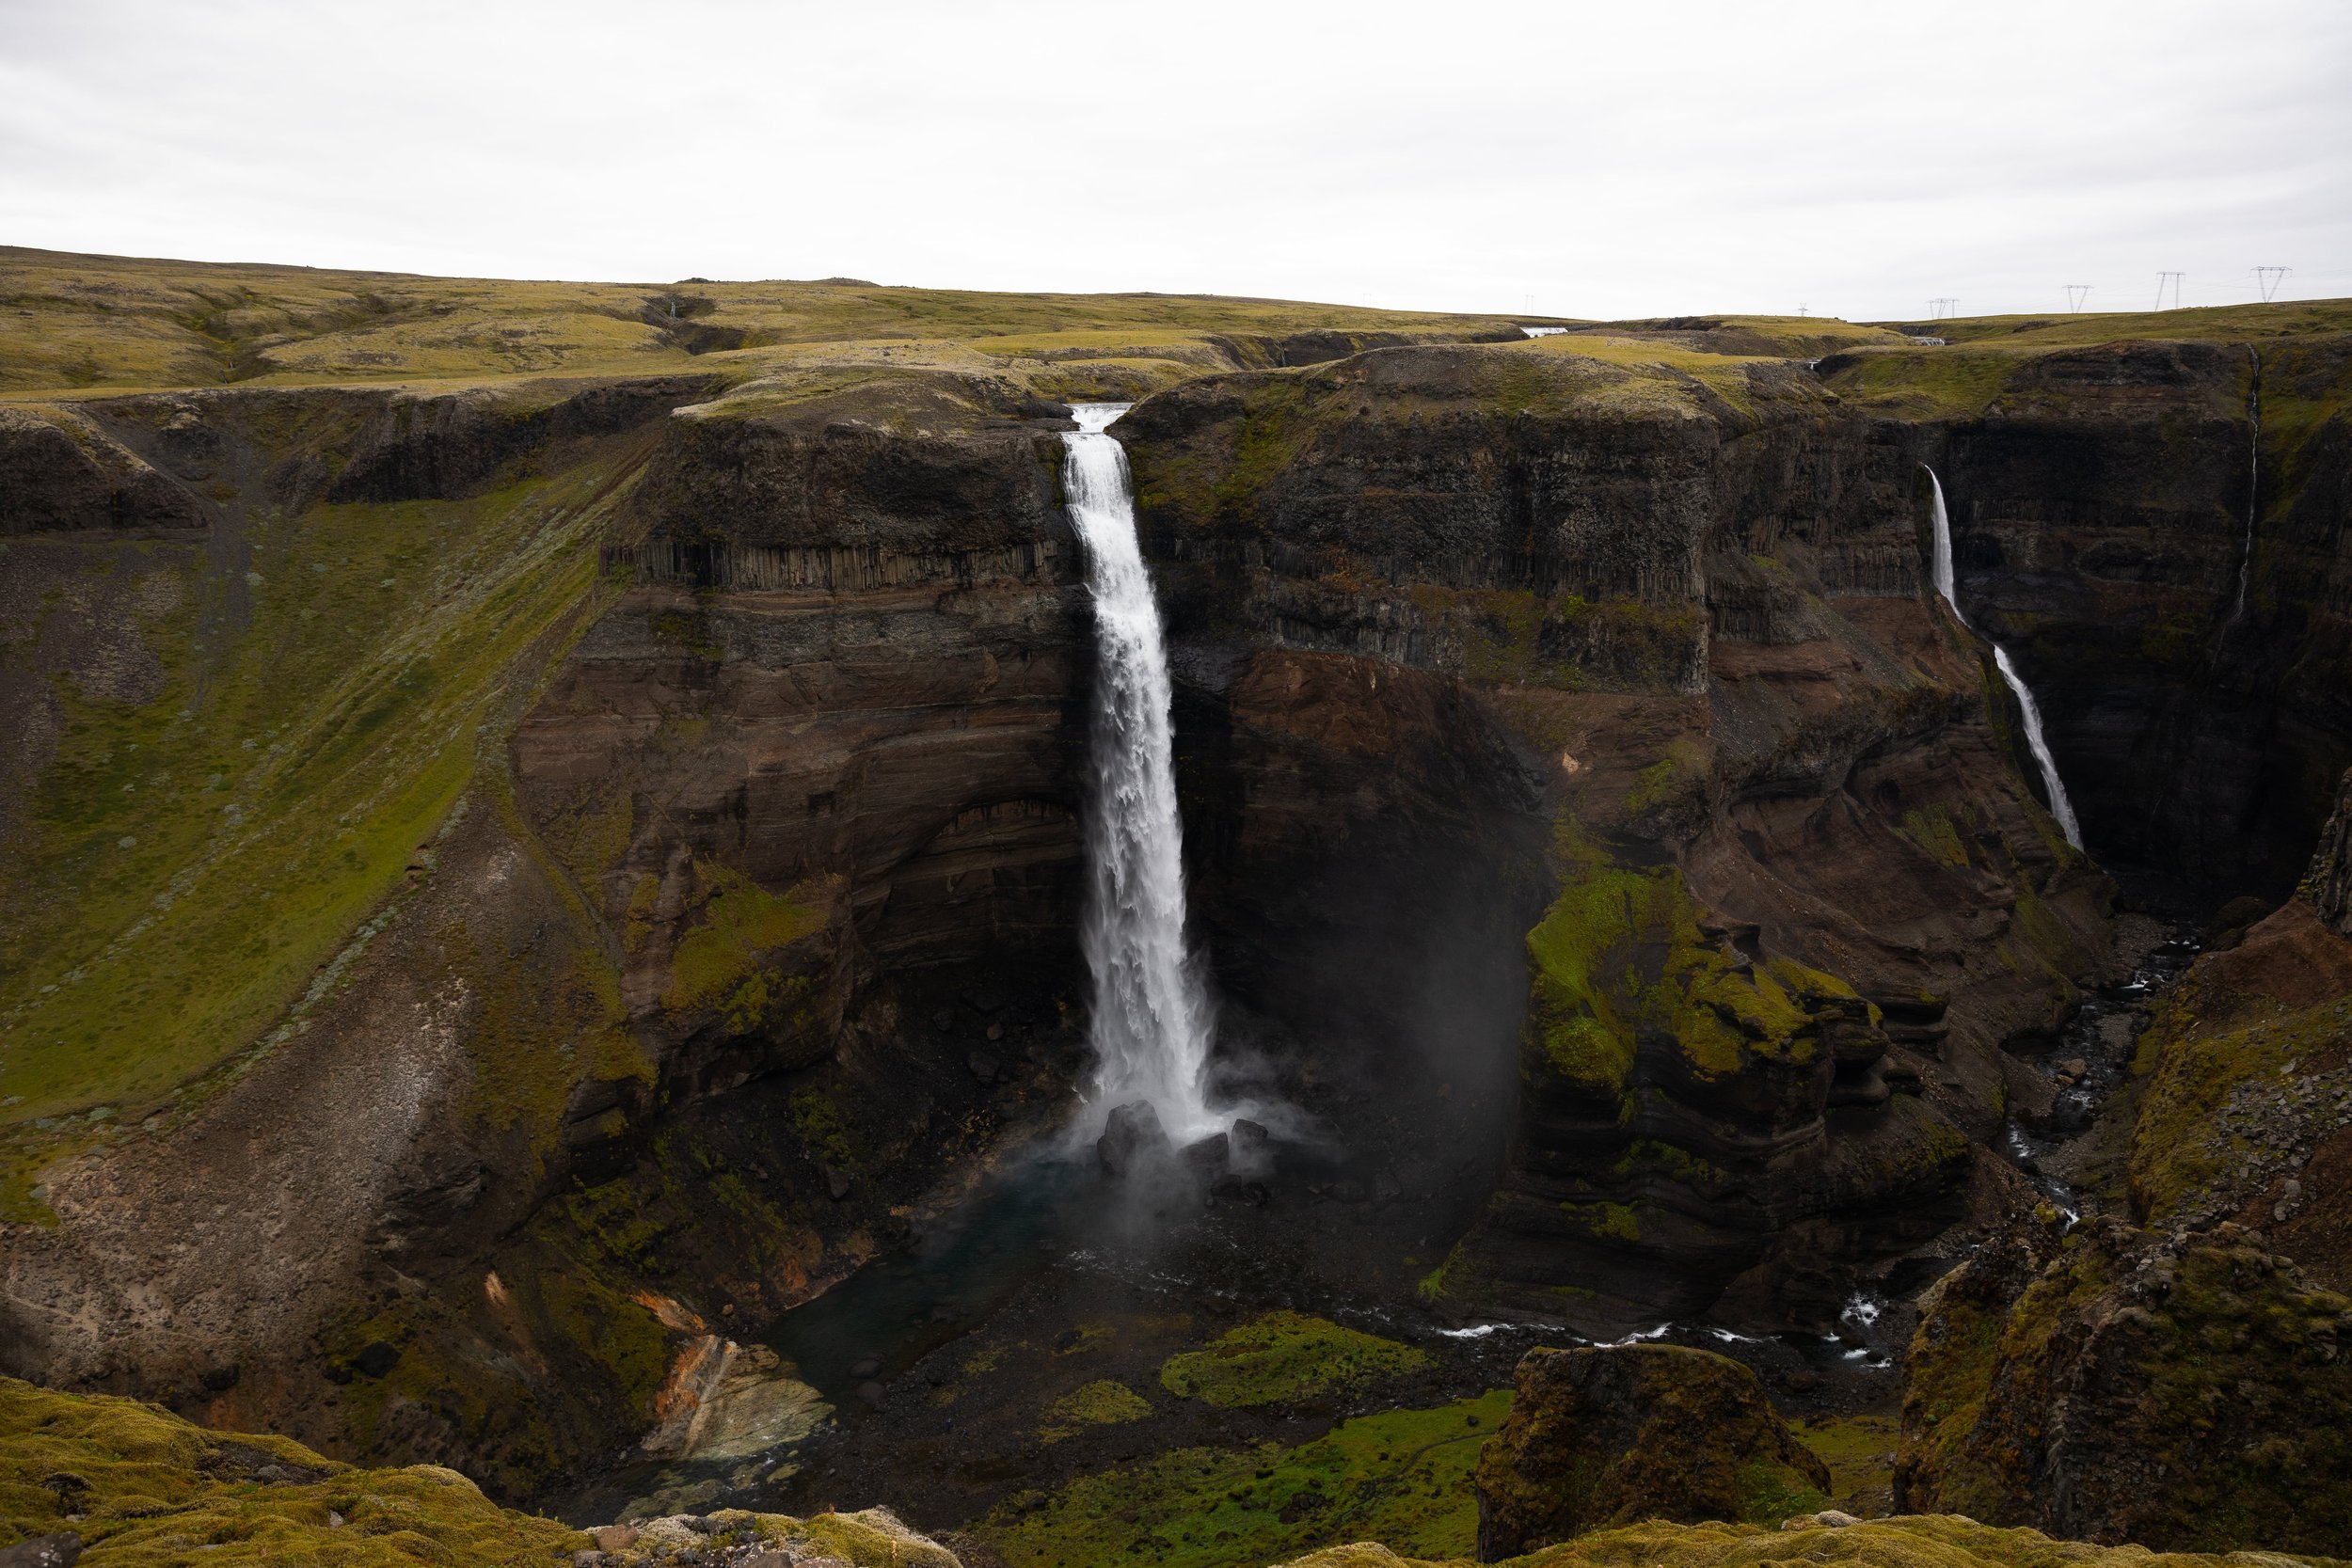
Haifoss is the fourth tallest waterfall in Iceland, standing at 400 feet, and one of the most beautiful, in my opinion. Haifoss is my favorite waterfall in Iceland because it is just so breathtaking.
When you visit, you will quickly see why! It is epic in a way that other waterfalls in Iceland are not, and it helps that the surrounding canyon is stunning.
Although you can view Haifoss from overlooks along the top of the canyon, I recommend hiking to the bottom of the falls. The viewpoints at the top are easily accessible, making them perfect for the entire family to enjoy! But the epic views are at the bottom of Haifoss.
If you want to experience this beautiful waterfall, you are in luck! I created this guide to have everything you need to know about visiting and hiking to Haifoss!

Disclaimer: This post contains affiliate links. If you click through and make a purchase, my blog may receive a commission at no additional cost to you.
Tips for Visiting Haifoss, Iceland
Drive a 4x4 to Haifoss. Haifoss is off an unpaved road in Iceland, so you must have a 4x4 to drive to the waterfall. I will talk more in-depth about how to get to Haifoss next!
If you do not want to hike, you can enjoy the views at the top. If hiking to the bottom of Haifoss is not for you, do not worry! The canyon has a few beautiful viewpoints, offering stunning views of Haifoss and its neighbor Granni.
Have proper hiking gear and experience. The hike to Haifoss is not easy, and the trail is steep as it heads to the bottom of the canyon. It is crucial to have the proper hiking gear.
Pack layers and rain gear. The weather in the highlands near Haifoss is unpredictable, making it crucial to pack layers and a rain jacket. We were lucky to have beautiful sunny weather for most of the day, but clouds moved in quickly in the afternoon. Haifoss also has a lot of mist at the bottom, so having a rain jacket is crucial to staying dry.
Be prepared for the wind. When we visited Haifoss, the wind was pretty crazy when we were hiking. We were happy to have packed layers because the wind makes the temperatures much colder.
Always remember to leave no trace. It’s crucial to pack out what you pack in and leave no trash. Some spots have trash bins, so you can easily throw your trash away. If they don’t have trash bins, you can throw your trash away at a nearby gas station or convenience store.
How to Get to Haifoss, Iceland
Haifoss is in the highlands of Iceland, requiring a drive on an unpaved road to get to it. The easiest way to Haifoss is to drive from 32 to 332.
Although technically 332 is not considered an F road, it might as well be one because it is an unpaved, rocky road. It is in much better condition now than when we visited years ago, but it is still unpaved.
The trailhead to hike to Haifoss is just under 5 miles on Road 332 once it turns off of 32. The road climbs steadily towards the trailhead before turning left towards the parking lot. You can see the left-hand turn and parking lot as you reach the top of 332, making it hard to miss.
The parking area is small, but we never had issues finding parking. And from the parking lot, you can easily see where the trail begins.
Haifoss Waterfall Hike Overview
The hike to Haifoss is one of my favorites in Iceland, so I know you are going to love it! Although the hike is not overly long, it has a few steep sections as it descends into the canyon to the base of Haifoss.
The trail crew has done a fantastic job maintaining and marking the trail. The trail has plenty of trail markers to help you follow the correct path, and we were never confused about where we needed to go. It only intersects with one other trail, but it is pretty obvious which one leads to the base of Haifoss.
Haifoss Hiking Stats
Length: 2.7 miles (4.3 km) round trip
Elevation gain: 670 feet (204 meters)
Difficulty: Moderate
Best time to hike: Summer
Facilities: The trailhead does not have restrooms.
Haifoss Trail Map
What to Pack for the Hike
Iceland weather can be unpredictable, so it is crucial to pack the right gear and layers for the season you visit. Both times we visited, the weather changed quickly and unexpectedly throughout the day!
This is a great baseline for what to pack, and you can adjust as needed:
Hiking to Haifoss Waterfall: Step-By-Step Guide
When we first visited Haifoss a few years ago, we did not realize there was a trail to the bottom of the falls. We only experienced its beauty from the viewpoints near the parking lot.
Although those are stunning, I was so excited to hike to the bottom of Haifoss and experience its epicness from the base.
Haifoss Trailhead to Upper Viewpoints
The hike to Haifoss begins at the parking lot and travels to two viewpoints along the top of the canyon. These viewpoints are stunning and offer some of the best views of Haifoss!
This section of the trail is easy to follow because both sides of the path have ropes leading you to the two viewpoints. I recommend visiting both because each offers a unique perspective overlooking Haifoss.


Upper Viewpoints to the Canyon Trail Junction
Most people stop at these viewpoints, but if you want to hike to the bottom of Haifoss, the trail continues left along the ridge of the canyon.
Before it climbs down to the canyon floor, it travels past a fence. But do not worry! There is a fence to climb over it and continue hiking to the bottom of Haifoss. After the fence, the trail descends more steeply along the canyon.
Around 0.7 miles, the trail reaches the only intersection. The trail that continues straight is popular for mountain bikers, so you will probably see many bikers stashing their bikes before hiking to the bottom of the falls. The trail to Haifoss turns right and continues to descend steeply onto the canyon floor.
Trail Junction to Haifoss
Although there are plenty of trail markers, we saw a few people hike on what must have been an older trail. Please follow the trail markers and stay on the established trail.
After a few steep sections, the trail flattens out and travels to the bottom of Haifoss. The views are spectacular from here, and you can feel how huge Haifoss is. You will probably get wet once you are near Haifoss because it has a lot of mist. I recommend wearing a rain jacket on this section of the hike!

Haifoss to Granni
Although the best views of Haifoss are right when you reach the canyon floor, the trail continues a little further into the canyon towards Granni. This section is a bit sketchy because it is wet and slippery, but it gives you beautiful views of the canyon and the nearby waterfalls.
I thought the trail continued to the bottom of Granni, but it looked a little sketchy and steep, so I decided to stop before it continued to the water. But the views were still stunning!
We spent a lot of time at the bottom of the canyon near Haifoss because the views were unmatched. I also loved feeling so small standing next to a 400-foot waterfall. Haifoss is my favorite waterfall, so I did not want to leave!


Back to the Trailhead
Once you are finished exploring the canyon floor, you will follow the trail back the way you came to the parking lot. The hike back to the canyon rim is steep, but it is easier to ascend it than descend it, in my opinion.
Once the trail reaches the top of the canyon, you can stop at the overlooks again before continuing to the parking lot.
No matter how you decide to experience Haifoss, you will fall in love with the beautiful waterfall! The viewpoints from the top and at the bottom of the canyon are unmatched.
If you want to visit Haifoss in Iceland, this guide is the perfect place to start planning your trip. It has everything you need to know about the Haifoss waterfall hike that needs to be on your bucket list!

Hey, I’m Nichole!
I am the creator behind Nichole the Nomad, the home of my explorations around the world, mountain hikes, and beautiful pictures taken along the way. I have a deep passion for capturing the world in a beautiful light and sharing my experiences.
I created this blog to share my travels, show how beautiful the world is, provide tips and tricks for traveling, and encourage you to explore. Whether you want to travel across the world or explore what’s in your backyard, I hope this blog inspires you to get outside and find your adventure!
Pin it for later!

